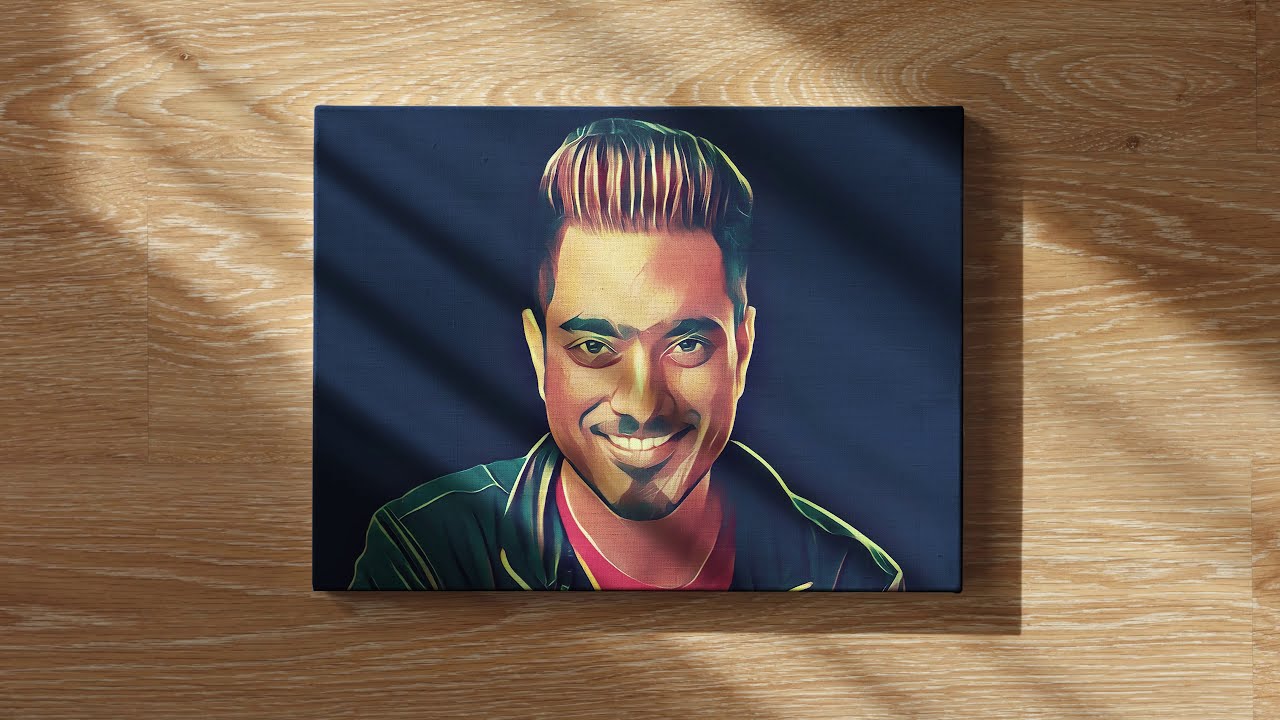
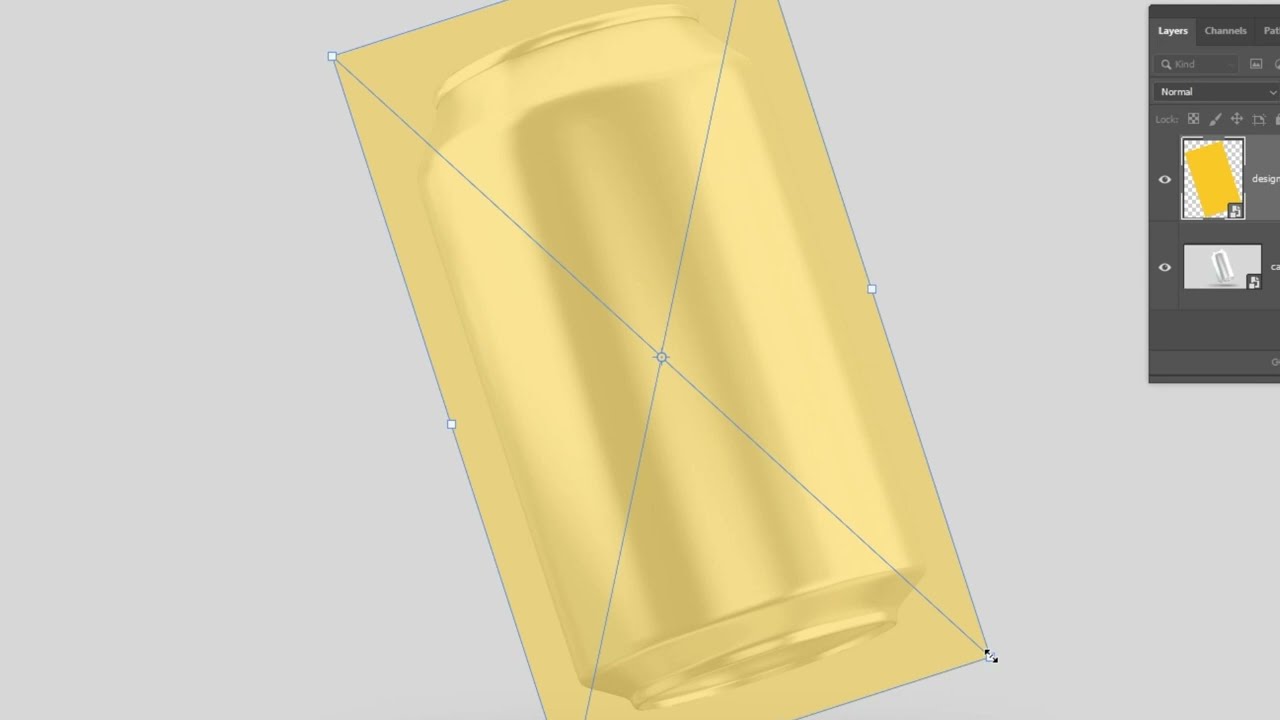
Mockups are an essential part of the design process, helping designers showcase their work in a realistic and professional manner. They serve as a visual representation of how a product or design will look in its final form, allowing clients and stakeholders to have a better understanding of the end result. In today’s digital age, creating mockups using software has become the norm, with Adobe Photoshop being one of the most popular tools for this purpose.
In this blog post, we will dive into the world of mockups and how you can create them using Adobe Photoshop. We will discuss the importance of mockups in design, give an overview of Adobe Photoshop, and provide step-by-step instructions to create mockups. We will also share tips and tricks to make your mockups more realistic and conclude with some final thoughts on the topic. So let’s get started!
Importance of mockups in design
Before we delve into the technical aspects of creating mockups with Adobe Photoshop, it is important to understand the significance of mockups in the design process. Mockups serve as a visual representation of the final product, giving a sneak peek into how the design will look when it is brought to life. This not only helps clients and stakeholders to visualize the end result, but it also allows designers to spot any potential flaws or areas of improvement before the final product is created.
Mockups also play a crucial role in the decision-making process. They allow clients and stakeholders to provide feedback and make necessary changes, which can save time and resources in the long run. Moreover, mockups can be used for marketing and advertising purposes, helping businesses to promote their products or designs before they are even launched.
In today’s fast-paced world, where competition is fierce, having high-quality and realistic mockups can set your designs apart from others and make a lasting impression on clients. Therefore, it is safe to say that mockups are an integral part of the design process, and using software like Adobe Photoshop can make the task easier and more efficient.
Overview of Adobe Photoshop

Adobe Photoshop is a powerful graphics editing software that has been around for over three decades. It is widely used by designers, photographers, and artists to create and edit images, graphics, and illustrations. With its extensive range of tools and features, Photoshop allows users to bring their creative ideas to life and create stunning visuals.
When it comes to creating mockups, Adobe Photoshop offers a variety of tools and techniques that can help you achieve realistic results. From creating 3D objects to adding textures and effects, Photoshop has got you covered. It also provides a user-friendly interface, making it accessible to both beginners and experts alike.
Now that we have a basic understanding of the importance of mockups and an overview of Adobe Photoshop, let’s dive into the steps to create mockups with this software.
Steps to create mockups in Adobe Photoshop

Before we begin, it is important to note that there is no right or wrong way to create a mockup in Adobe Photoshop. The following steps can serve as a guide, but feel free to experiment and find what works best for you.
Step 1: Identify your target audience and purpose
The first step in creating a mockup is to identify your target audience and the purpose of the mockup. This will help you determine the style, colors, and elements that will appeal to your audience and effectively communicate the message or concept of your design. For example, if you are creating a mockup for a product aimed at children, you may use bright colors and playful elements, whereas a mockup for a corporate brand would require a more professional and minimalist approach.
Step 2: Gather necessary assets
Before you open Photoshop, it is helpful to gather all the necessary assets for your mockup. This can include images, logos, fonts, and any design elements you plan to use. Having these assets ready beforehand will save you time and make the process smoother.
Step 3: Create a new document
Open Adobe Photoshop and select “File” from the menu bar, then click on “New”. A pop-up window will appear where you can enter the dimensions for your mockup. Make sure to choose the appropriate size and resolution depending on the purpose of your mockup. For example, a web design mockup may have different dimensions than a print design mockup. You can also save this document as a template for future mockup projects by selecting “Save Preset” before clicking “Create”.
Step 4: Setting up layers and guides
Once you have your blank canvas, it’s time to set up your layers and guides. Layer organization is crucial in Photoshop, especially when working with multiple elements. Use folders to group similar elements and name your layers accordingly for better organization and easier editing later on. Guides can also come in handy to ensure symmetry and alignment in your mockup.
Step 5: Add basic shapes and text
Start by adding basic shapes such as rectangles and circles to your canvas. This will serve as the base for your mockup, and you can resize and transform them to fit your design. You can also add text using the Type tool to include any necessary information or labels in your mockup.
Step 6: Use smart objects
Smart objects are non-destructive elements that can be edited without affecting the original image or graphic. They allow you to work more flexibly and experiment with different designs and layouts. To convert an element into a smart object, right-click on the layer and select “Convert to Smart Object”. You can also edit the contents of a smart object by double-clicking on the layer thumbnail.
Step 7: Add images and graphics
Now it’s time to add the main images and graphics to your mockup. You can either use stock photos or your own original designs. If you are using stock photos, make sure to check the licensing terms and give credit if necessary. To insert an image, go to “File” and select “Place Embedded”. This will open a window where you can browse and select the image you want to use.
Step 8: Use blending modes and layer effects
Using blending modes and layer effects can add depth and realism to your mockup. Blending modes determine how different layers interact with one another and can create interesting effects. You can also add layer effects such as shadow, glow, or bevel to give your mockup a more realistic look. You can access these options by double-clicking on the layer or going to the “Layer Style” icon at the bottom of the Layers panel.
Step 9: Add textures and patterns
Textures and patterns can add interest and detail to your mockup. You can either use pre-made textures or create your own using brushes or filters in Photoshop. To apply a texture or pattern, create a new layer on top of your element, then go to “Edit” and select “Fill”. Choose either “Pattern” or “Texture” from the drop-down menu and click “OK”. You can then adjust the opacity and blending mode of this layer to achieve the desired effect.
Step 10: Save and export your mockup
Once you are satisfied with your mockup, it’s time to save and export it. Go to “File” and select “Save As” to save the document in its native .psd format. This will allow you to edit your mockup later if needed. To export your mockup, go to “File” and select “Export” then choose the file format you want (e.g., .jpg or .png) and click “Save”. You can then choose the image quality and resolution before exporting your mockup.
Tips and tricks for creating realistic mockups
Now that you know the basics of creating mockups in Adobe Photoshop, here are some tips and tricks to take your mockups to the next level and make them more realistic.
Use real-life objects as reference
One way to make your mockups look more realistic is to use real-life objects as reference. For example, if you are creating a package design mockup, you can take photos of actual packaging and use them as a reference for size, shape, and texture.
Pay attention to lighting and shadows
Lighting and shadows play a crucial role in making your mockup look realistic. Make sure to use natural lighting or create artificial lighting effects to mimic the environment where the final product will be displayed. Also, pay attention to the placement and intensity of shadows to add depth and dimension to your mockup.
Use perspective tools
Perspective tools can help you create a sense of depth and realism in your mockups. Photoshop has built-in perspective grids and tools that can assist you in creating accurate perspective in your designs. You can access these tools by going to “View” and selecting “Show Perspective Grid”.
Experiment with textures and patterns
Textures and patterns can add a touch of realism and uniqueness to your mockups. Don’t be afraid to experiment with different textures and patterns to find what works best for your design. You can also use blending modes and layer masks to achieve interesting effects.
Pay attention to details
The devil is in the details when it comes to creating realistic mockups. Pay attention to small details such as lighting, reflections, and texturing to make your mockups stand out. Additionally, make sure to proofread any text or labels in your mockup to avoid any typos or mistakes.
Conclusion
Creating mockups with Adobe Photoshop can be a fun and rewarding experience. By following the steps outlined in this blog post and incorporating some tips and tricks, you can create high-quality and realistic mockups that will impress your clients and stakeholders. Remember, practice makes perfect, so don’t be discouraged if your first few attempts don’t turn out as expected. Keep experimenting and honing your skills, and you will soon become a master at creating mockups with Adobe Photoshop.